Hi there!
I just showed you the first animal tutorial, and now the 2nd one is gonna follow, the flamingo!
That's what you need for the flamingo:
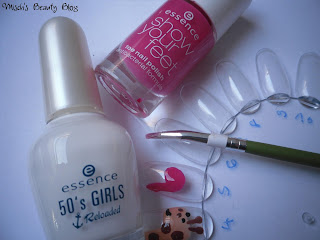
- a base coat of your choice (I used Essence - Pro White French)
- a hot pink polish (I used Essence Show Your Feet - Flashy Pink)
- a light pink polish (I mixed Essence Show Your Feet - Flashy Pink with Essence - Ahoy!)
- a black polish (I used p2 - eternal)
- a tool like a toothpick, the end of a bobby pin, a dotting tool or a paint brush (I used a small paint brush and Essence's Nail Art Stylist)
- a top coat of your choice (I used Essence Better Than Gel Nails Top Sealer)
That's how to do the flamingo:
1. Start with applying your base coat to all your nails.
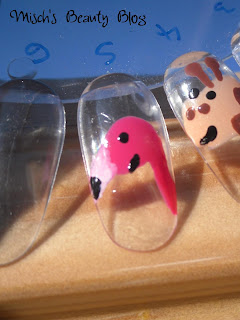
2. Draw the hot pink body of the flamingo. I used a paint brush for this, and just decided to draw the neck and the head.
3. Create its beak. It's light pink and tapered. Use a small tool for that.
4. Add an eye and a black tip on the beak with your black polish and a small tool.
5. Seal your design with your favorite top coat.
Really simple, right?! I like it, because with the signature black tip on the beak you can tell it's a flamingo, plus, it's pink, yay :D
Stay tuned for the next tutorial, a bear!
Until then,
xoxo, Misch


I think this is my favourite one, maybe because it is pink :-)
ReplyDelete@Salander: haha, that's cool :)
ReplyDelete