Hiya!
So the last tutorial for today is the bird nail art, hope you'll like it!
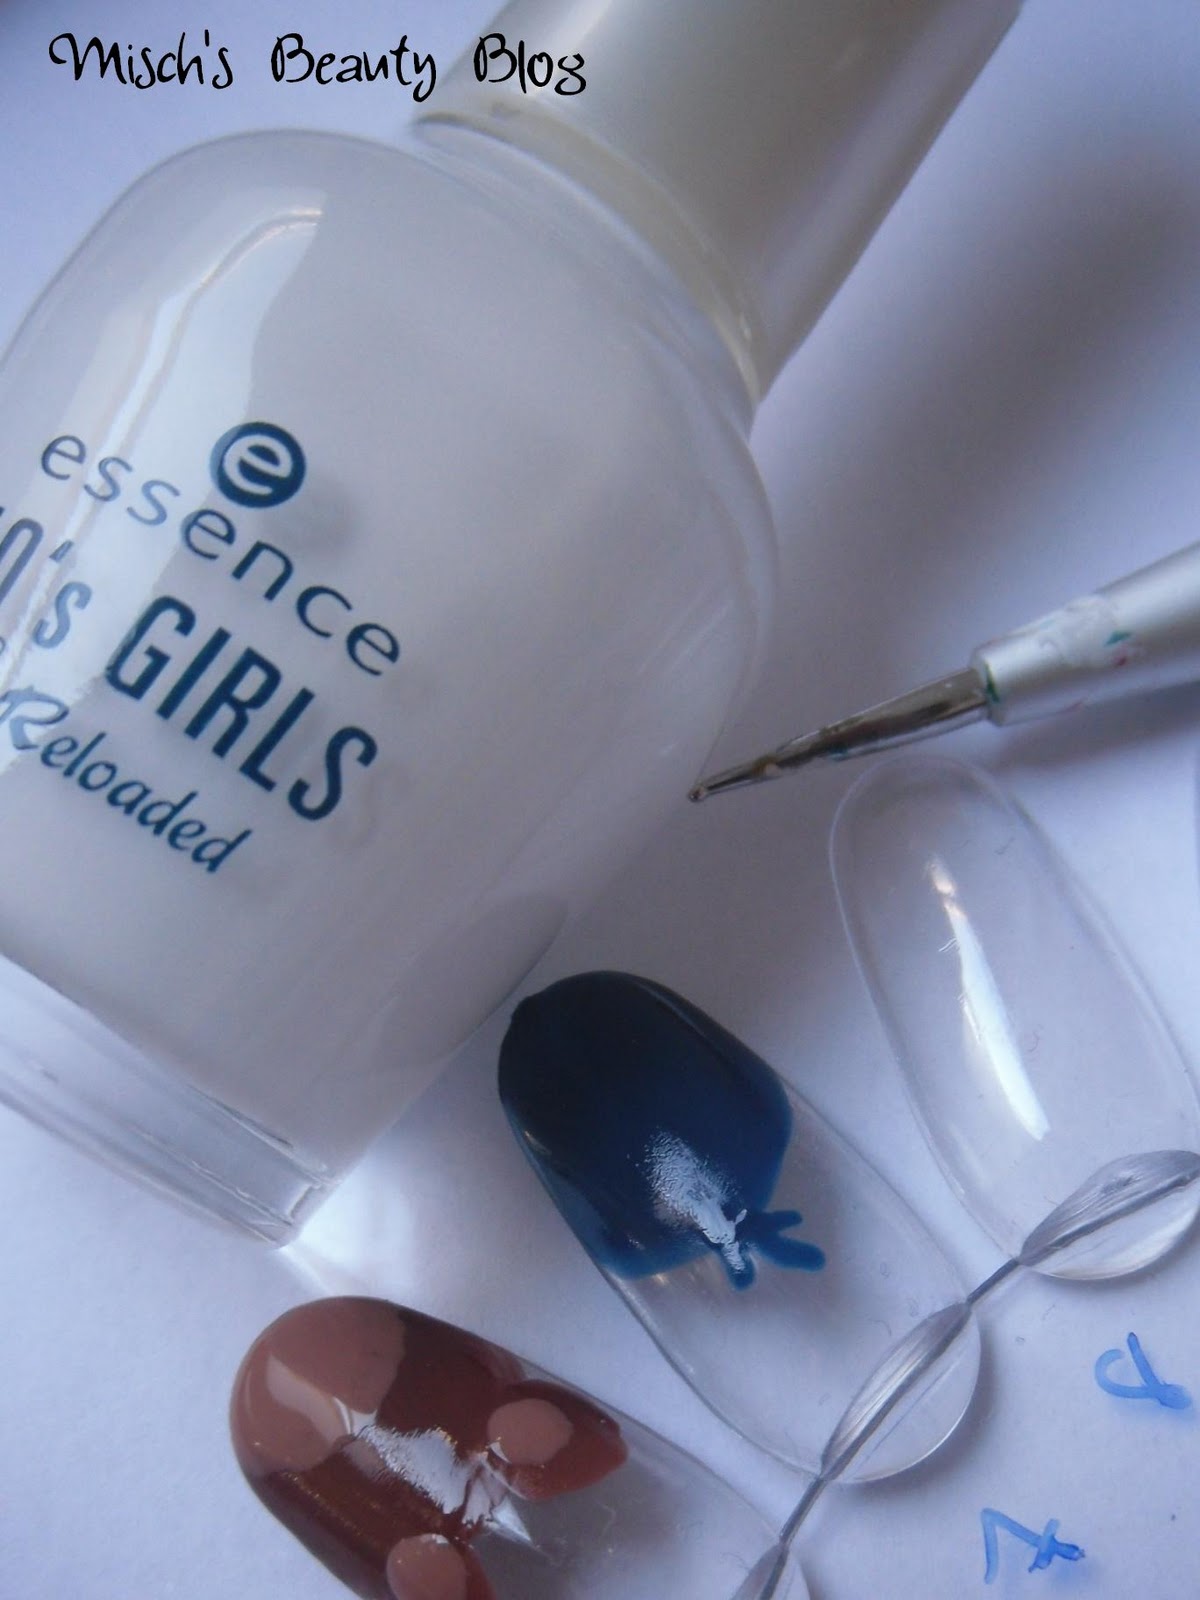
That's what you need for the bird:
- a base coat of your choice (I used Essence - Pro White French)
- a bird color of your choice, like blue or green (here I'm using Manhattan - 77T, in the original I used a bright green no name polish)
- a belly color (Here I used Essence - Ahoy, and in the original I used L.A.Colors Nail Art Deco in Tangerine)
- a white nail polish (I used Essence - Ahoy)
- a black nail polish (I used p2 - eternal)
- an orange polish (I used China Glaze - Life Preserver)
- a tool like a small brush, a dotting tool, the end of a bobby pin or a toothpick (I used a small paint brush and Essence's Nail Art Stylist)
- a top coat of your choice (I used Essence Better Than Gel Nails Top Sealer)
That's how to do the bird:
1. Apply your base coat to all of your nails.
2. Create the bird by using your blue or whatever color polish in a half circle on the tip of your nail.
3. While the color is still a bit wet, drag 3 little feathers out of the head with a small tool.
4. Now do the bird's belly by adding the lighter color in a half circle.
5. For the eyes you want to use white dots, and within them black dots.
6. Create the beak by painting a small orange triangle.
7. Finish it off with a nice coat of your top coat.
That's it for this tutorial!
I really hope this helped you out, Mary! And all of you others, too :D
Leave me some links if you try out any of these designs I showed you today :)
Until next time,
xoxo, Misch